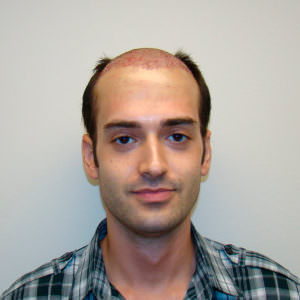
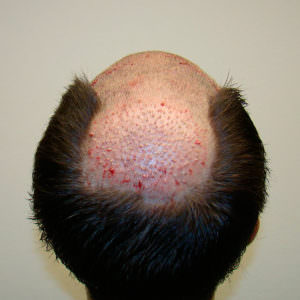
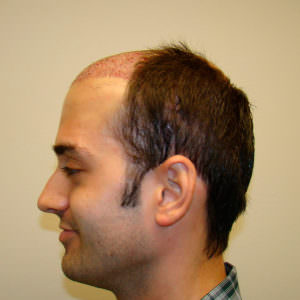
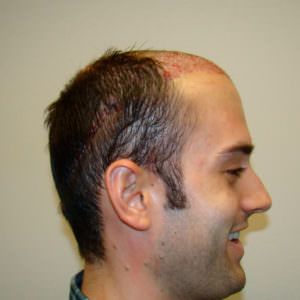
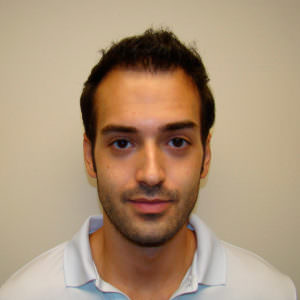
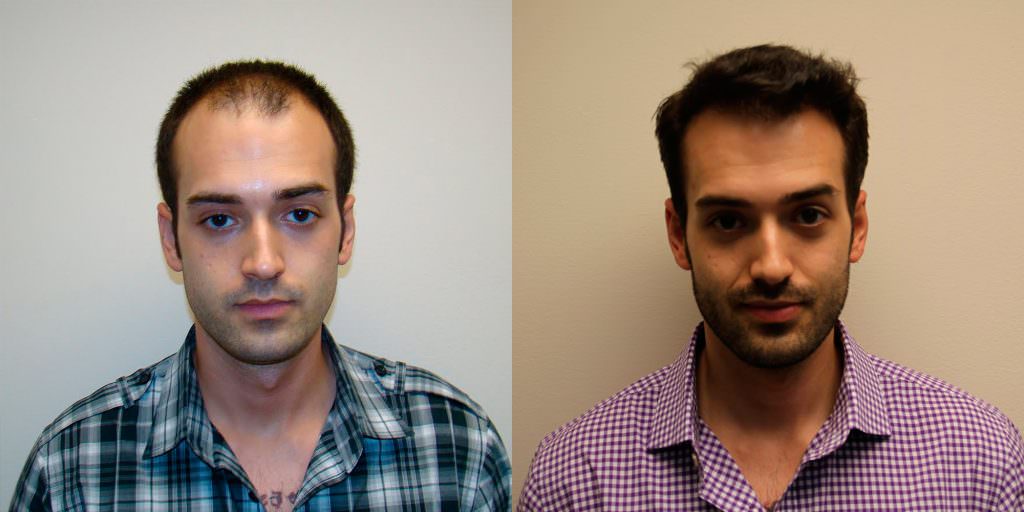
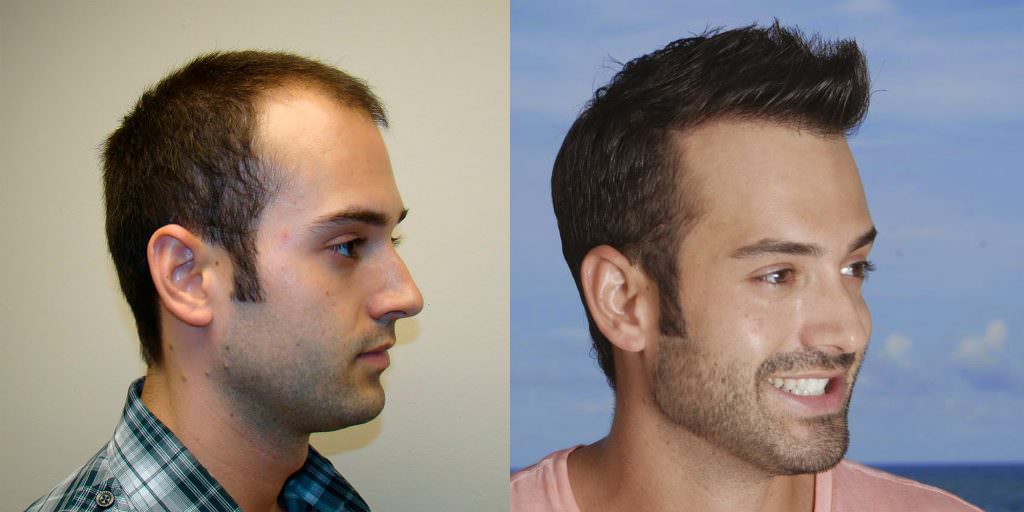
Ryan is one of our world-famous patients with millions of views on his hair transplant video on our YouTube channel. You can see it for yourself here:
Ryan has allowed us to document his case from the beginning to the end to give anyone considering a hair transplant a great understanding of how it works and what to expect.
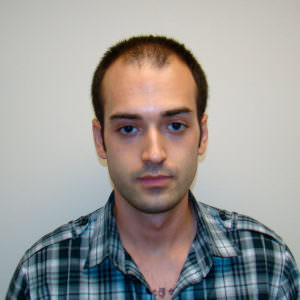
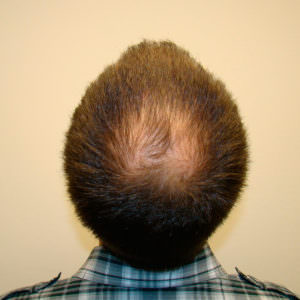
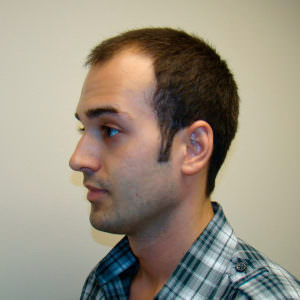
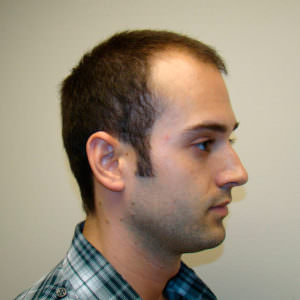
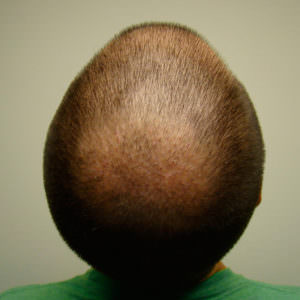
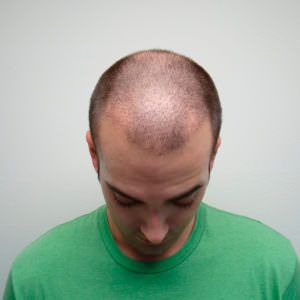
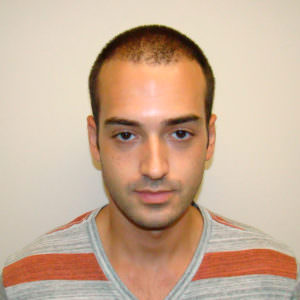
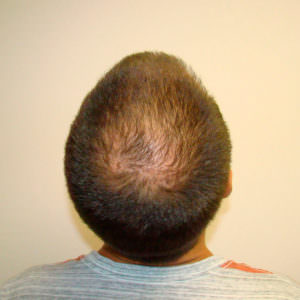
Before
Planning The Goal
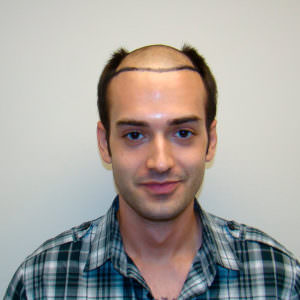
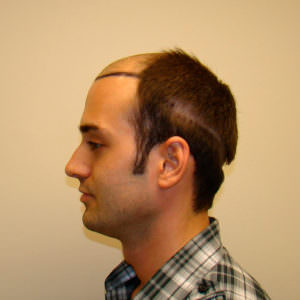
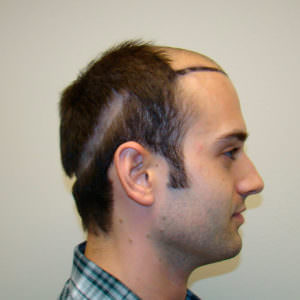
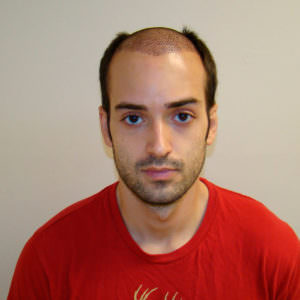
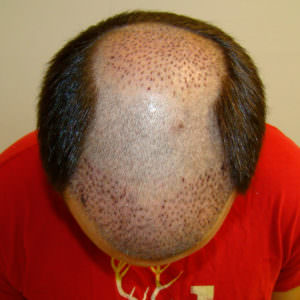
Ryan decided to shave his hair on the top of his head to make the placing of the grafts a bit easier for the staff. This is done sometimes when the patient is not afraid to wear his hair very low or shaved. The black crayon lines are a method whereby Dr. Bolton shows the patient, prior to surgery, the area to be filled. It is not a design, but an agreement between the doctor and patient as to where the grafts will be placed.
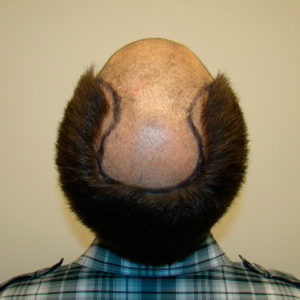
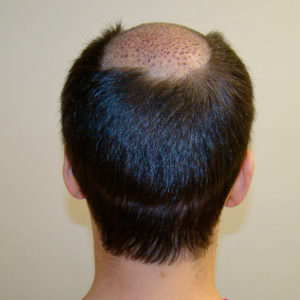
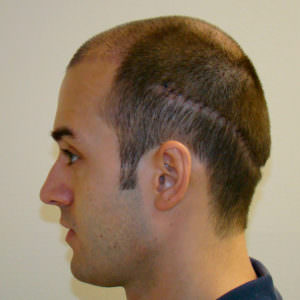
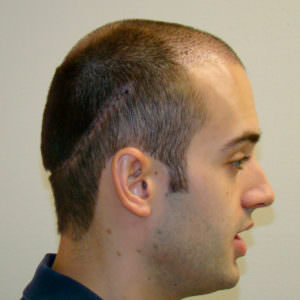
Please note the donor area that is shaved extends significantly past the right and left ear to maximize the amount of hair taken. Many doctors stay between the ears thus limiting the amount of hair harvested.
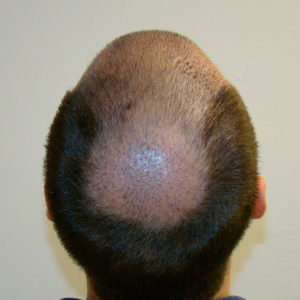
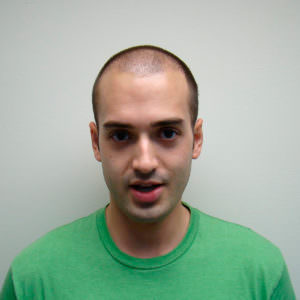
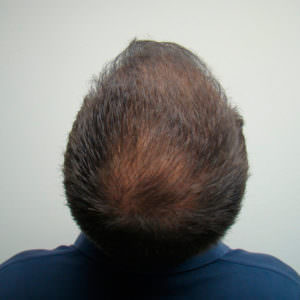
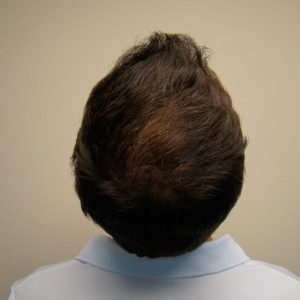
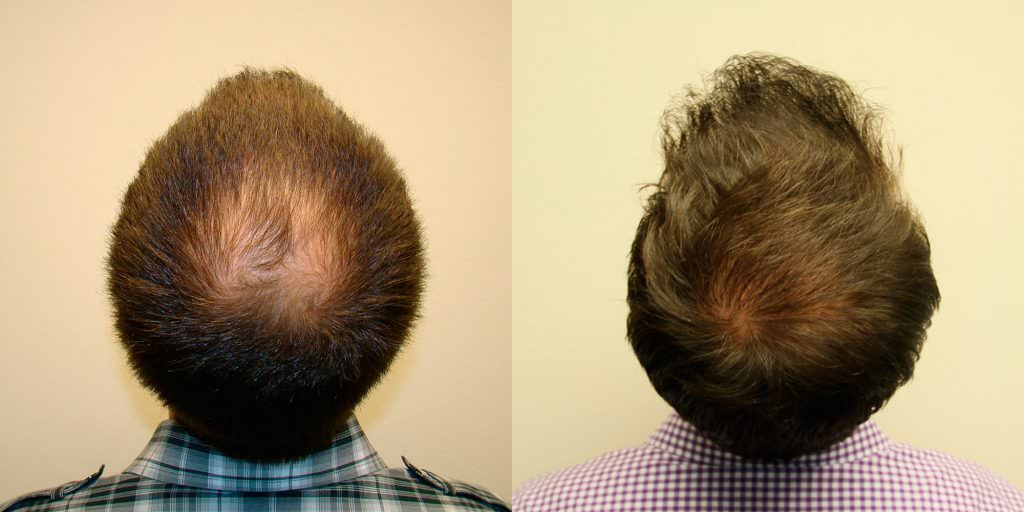
Please note that the patient has lost hair in the frontal 1/3 area of his scalp and the back circular crown area of his scalp. He still has hair between those two areas in the mid-scalp area. Dr. Bolton makes the patient aware of the 3 FDA approved regimens for hair loss: Propecia, Rogaine and the laser light comb. Dr. Bolton will tell the patient to be prepared to repeat the procedure in the future as he continues to lose hair. The patient is fine with this and is committed to keeping his hair and use the FDA recommended therapies.
Immediately After The Procedure
Dr. Bolton was able to harvest a 31 cm x 1 cm strip of tissue containing approximately 6,500 hairs. Please note that micro grafts (1 hair grafts) are placed in the frontal hair line. Follicular units of 2 and 3 hairs are behind the frontal hair line. Finally, behind the follicular units, Dr. Bolton will combine follicular units into his multiple units grafts, thus achieving at least twice the density of the standard follicular unit procedure which averages typically two hairs per graft.
Please note that you can barely see the suture line below the wet hair.
When Dr. Bolton places the recipient sites into the crown, he will mimic the way the hair originally grew. Hair in the crown, has a unique swirl to its design. You have to recreate this pattern in order to give the patient a natural result.
3 Days After Procedure
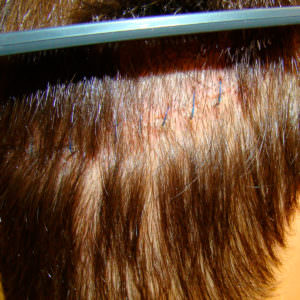 Note how small the suture line is, especially given how recently the procedure was.
6 Days After Procedure
10 Day Suture Removal
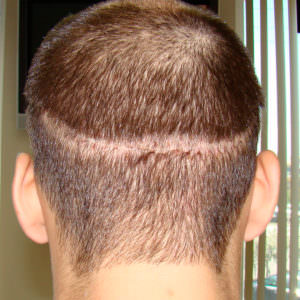 Hair is beginning to grow back through from initial shaving.
The newly implanted hair will become dormant for the first few months and then proceed to grow in normally.
Month 4
Month 5
Month 6
Month 7
Month 8
Month 9
Month 10
Month 11
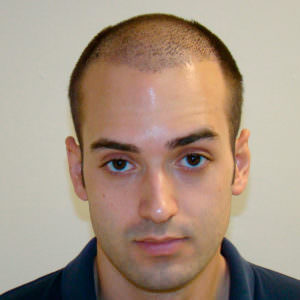
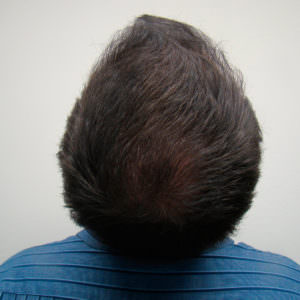
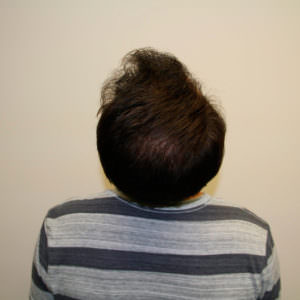
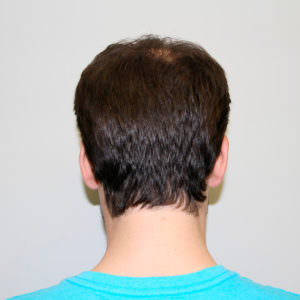
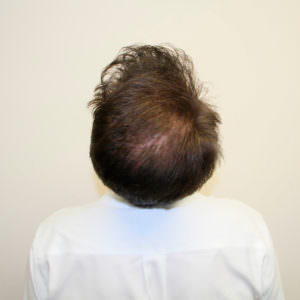
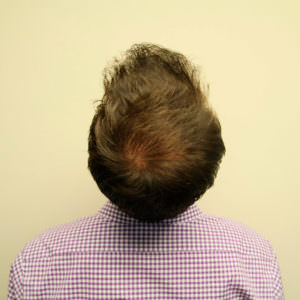
What you see here is a patient who is willing to chart his progress every month. At four months, you can see a definite change from where he started. You see improvement in the frontal hair line, especially, in the corners where, previously, there was no hair. You can see the crown is starting to fill in, too. The suture line is absolutely undetectable, even though, in some pictures he is wearing his hair with a 2 blade or about 1/4 to 1/2 inch in length. We are very excited for our patient as he restores his youthfulness and good looks.
Before / After

